Here is the first part of my diorama, here i am finishing the vehicle so it is ready to test fit on the base when i am ready.
RG-31/REMOTE WEAPON STATION (RWS)
 |
| here are the road wheels and spare painted and glued together before weathering which will be done at a later stage. |
 |
| This is the remote weapons station or rws for short which is almost finished. |
 |
| The tarp is from valuegear and the axe and spade are from spareswhich are held together to look like bunge strapes. |
10/5/2015
This weekend i managed to get all the decals on and make a start on the base. I chose these type of decals because i think they would look good as a bomb disposal unit which i am also basing this diorama on.
 |
| I think the transformers decal is awsome and realy stands out well against the desert color scheme. |
Now the decals have been fitted and sealed with a mate coat it is time to move onto the base.
THE BASE
 |
| These will be converted to canadian bomb tecs |
 |
| I will be converting these troop's into canadian with there desert digi camo |
The first 5 pictures show's the accessary's which i will be using on this diorama as well as various other bits from my spares box.
The next picture's show the base being constructed.
 |
| This pic show's the plan that i will be refuring to when makeing this diorama |
 |
| Here is the main part of the base which is made from depron foam board which is very easy to work with. |
 |
| This is the foam board which i am using which i purchased from a company called FIELDS OF GLORY MODELS whichare based in the uk. |
 |
| Here is a mock up of what the path and the size of the building will look like when finished. |
 |
| For the road i am using fine wet and dry sand paper which my dad got for me from work. |
This is the progress of this weekends work.
 |
| Here i have sanded and filed a ramp to the alley way. |
 |
| Here i have outlined the shapes of the paving slabs and curbs and then i used my scriber tool to finnish them of with. |
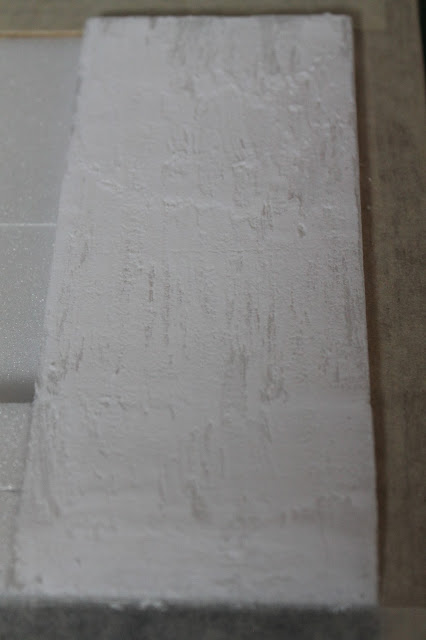
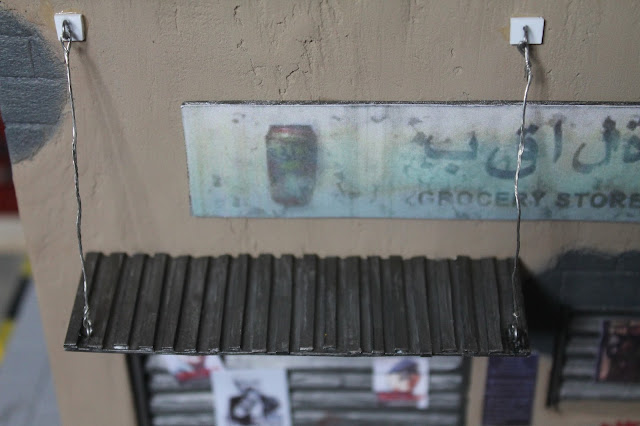
The next set of pictures show the stages of my building work
The next steps will be to cut out the outline for the shutter doors and the door frame for the side alley.
24/5/2015
1/6/2015
3/6/2015
While i was waiting for the paint to dry i started making the figures and a couple of crash barriers, i also painted the shutter doors.
4/6/2015
5/6/2015
14/6/2015
19/7/2015
Comments are welcome


No comments:
Post a Comment