WIP: SD.KFZ.10/4 FUR 2CM FLAK 30
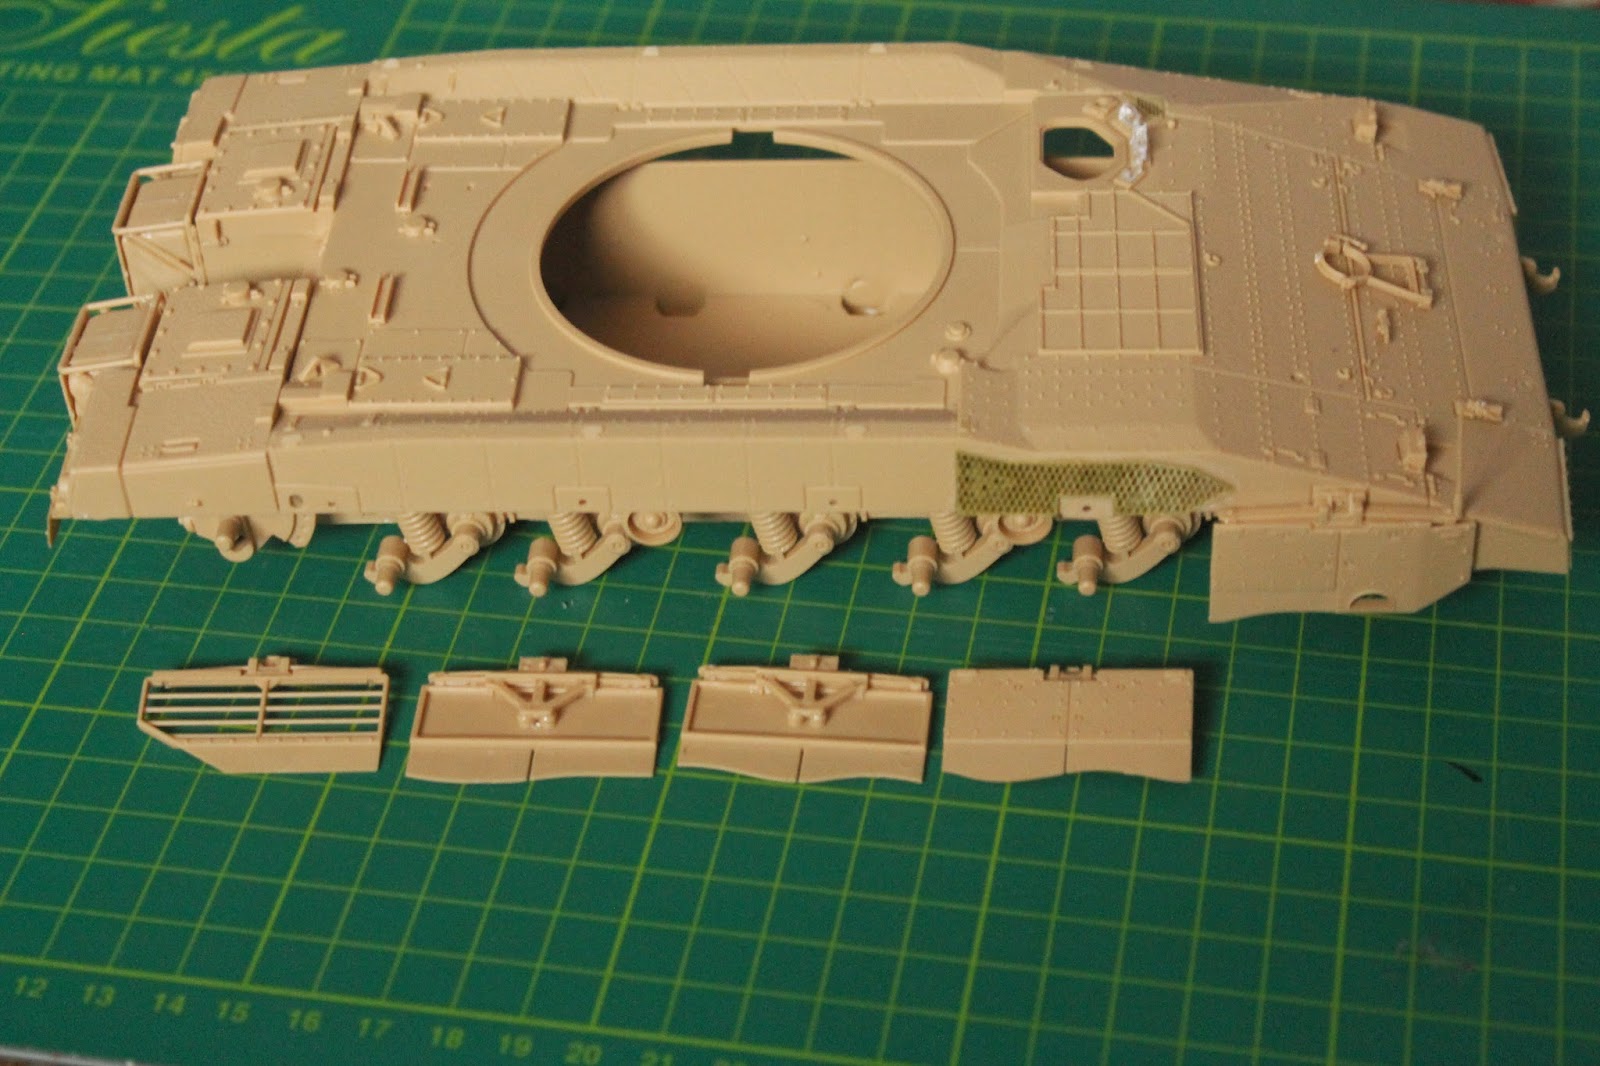
Here is model no 2 of 4 which is a sd.kfz.10/4 fur 2cm flack 30 with anhanger trailer . This is going to be a simple model which is going to be sat on a cobble road somewhere in france.
 |
| This shows the dash bord area, the engine and the drive box for the front sprockets. |
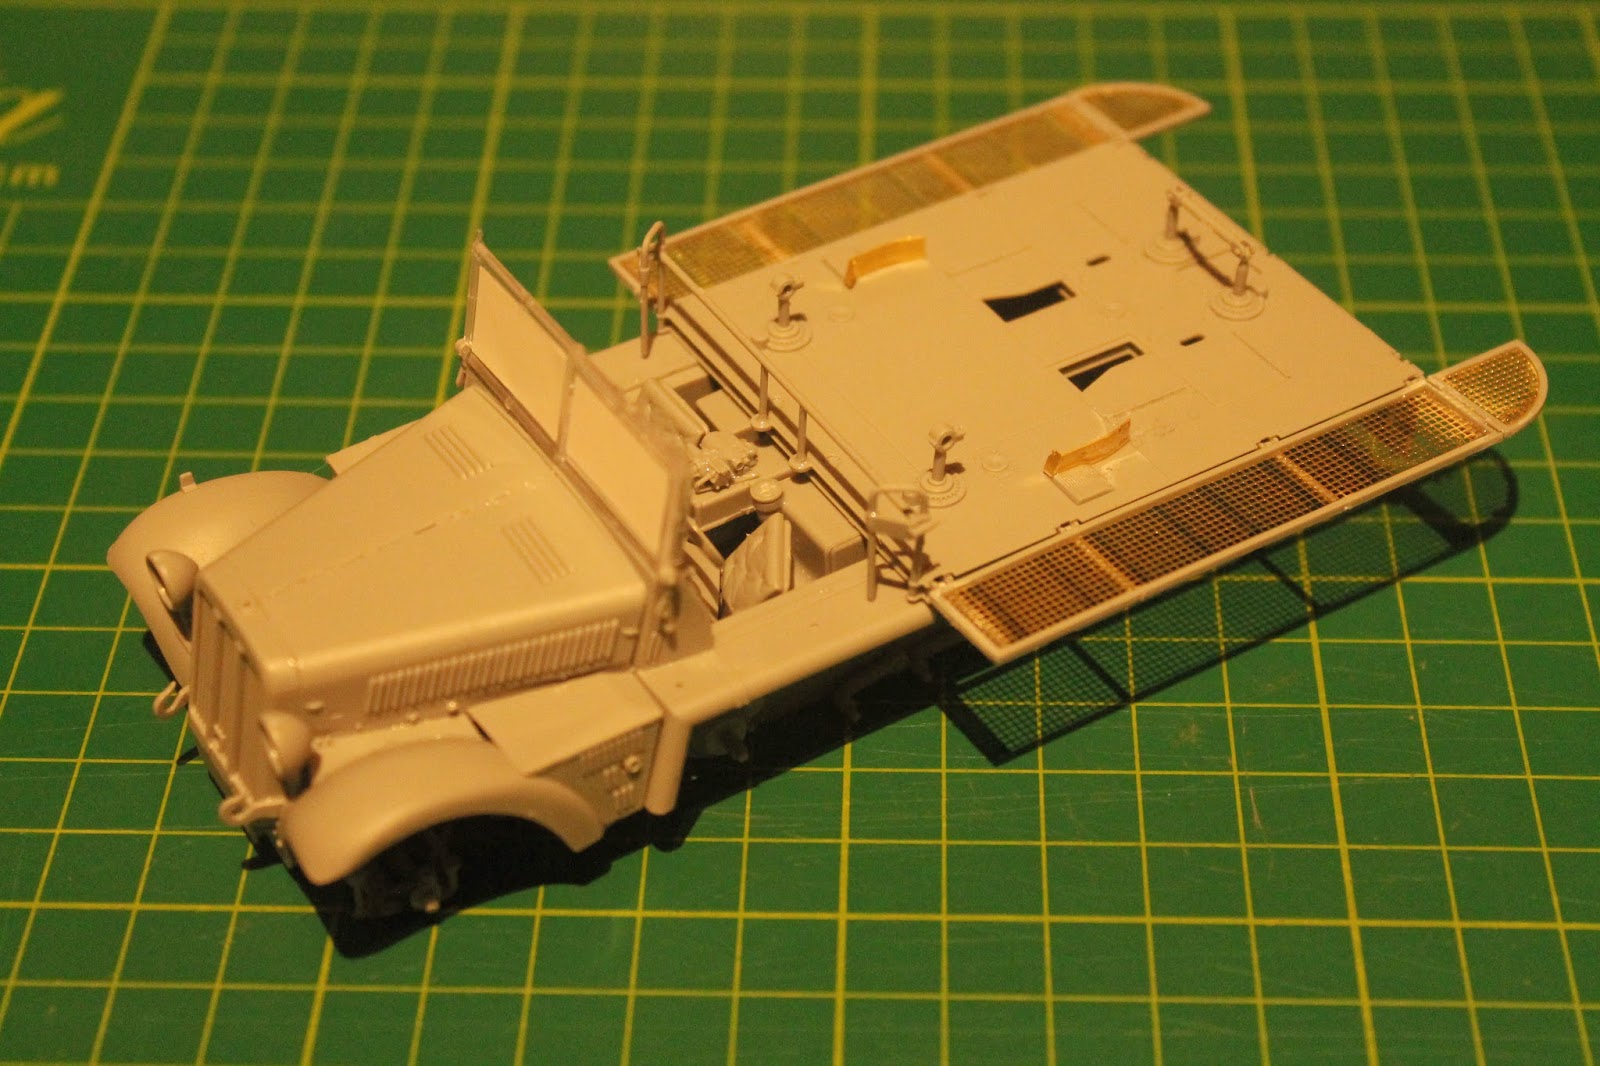 |
| Here is the half finnished bed sat on the back to show the size of the vehicle. |
9/12/2014
Here is an update from my weekends work on the flak 30.
 |
| The main gun without the shields. |
 |
| Here it is with the shields and ready for paint. |
28/2/2015
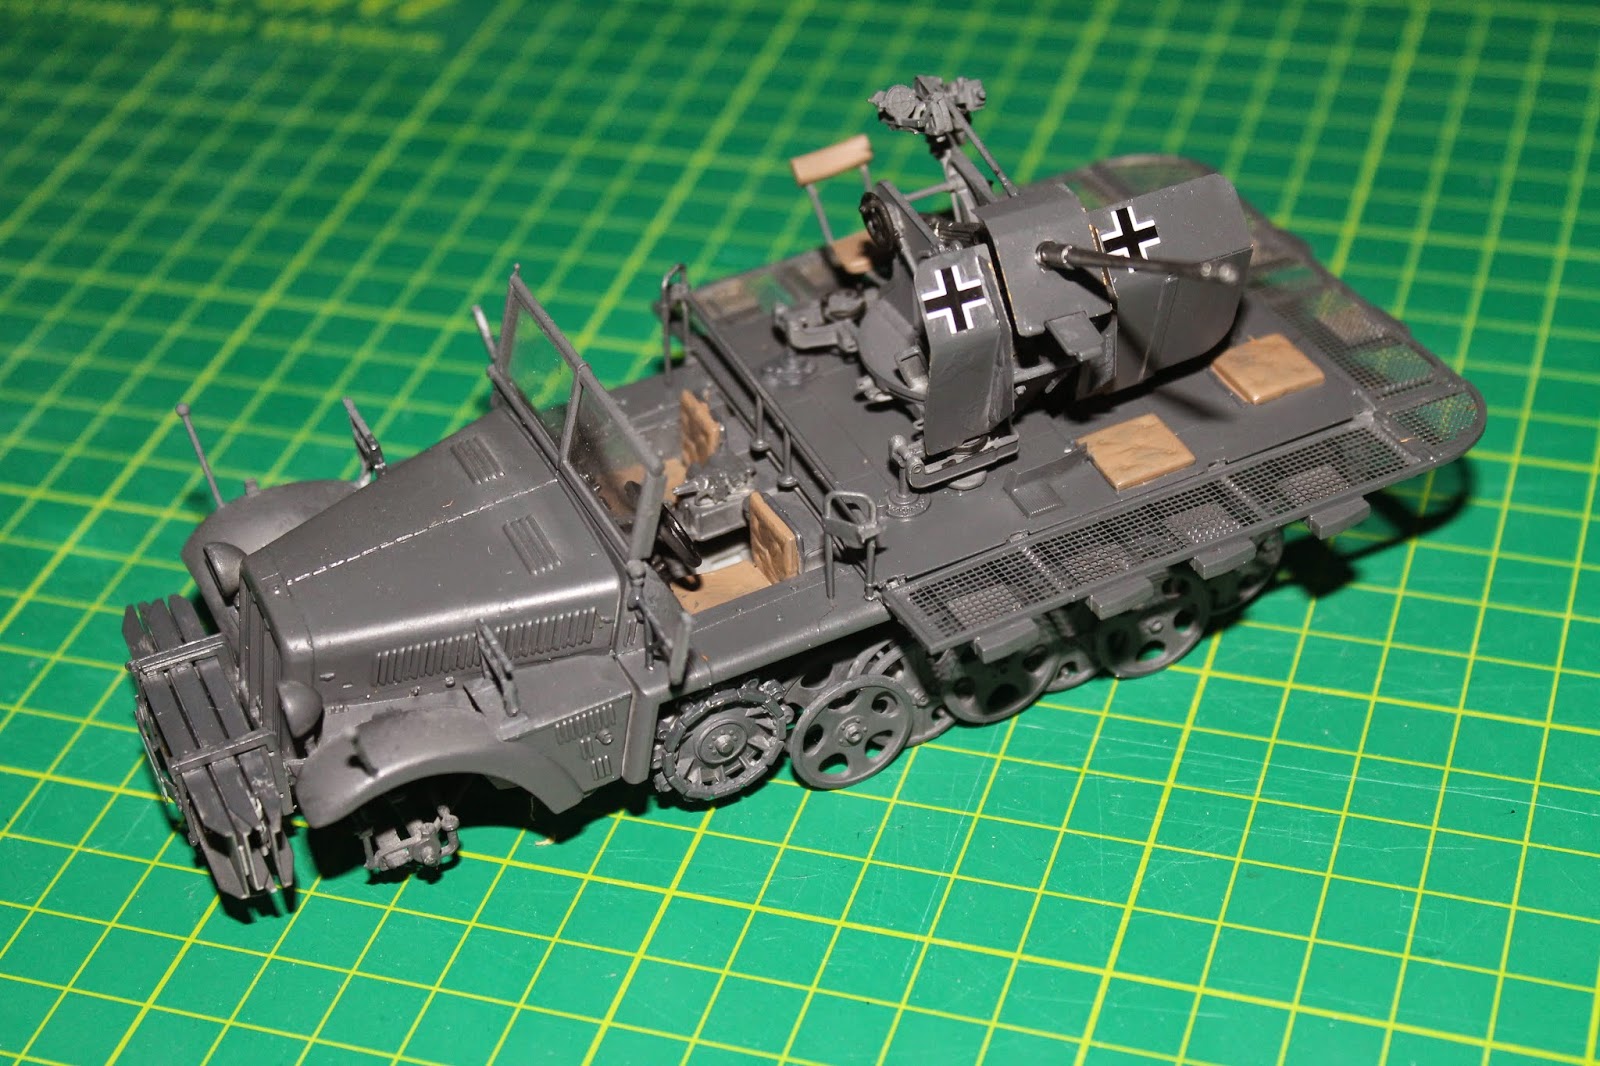
Here is the flak 30 all painted and is now being prepaird for the weathering process.
 |
| I have changed the front slightly from previous post by adding the ramps and the wepons racks on the top of the front wheel arches |
7/3/2015
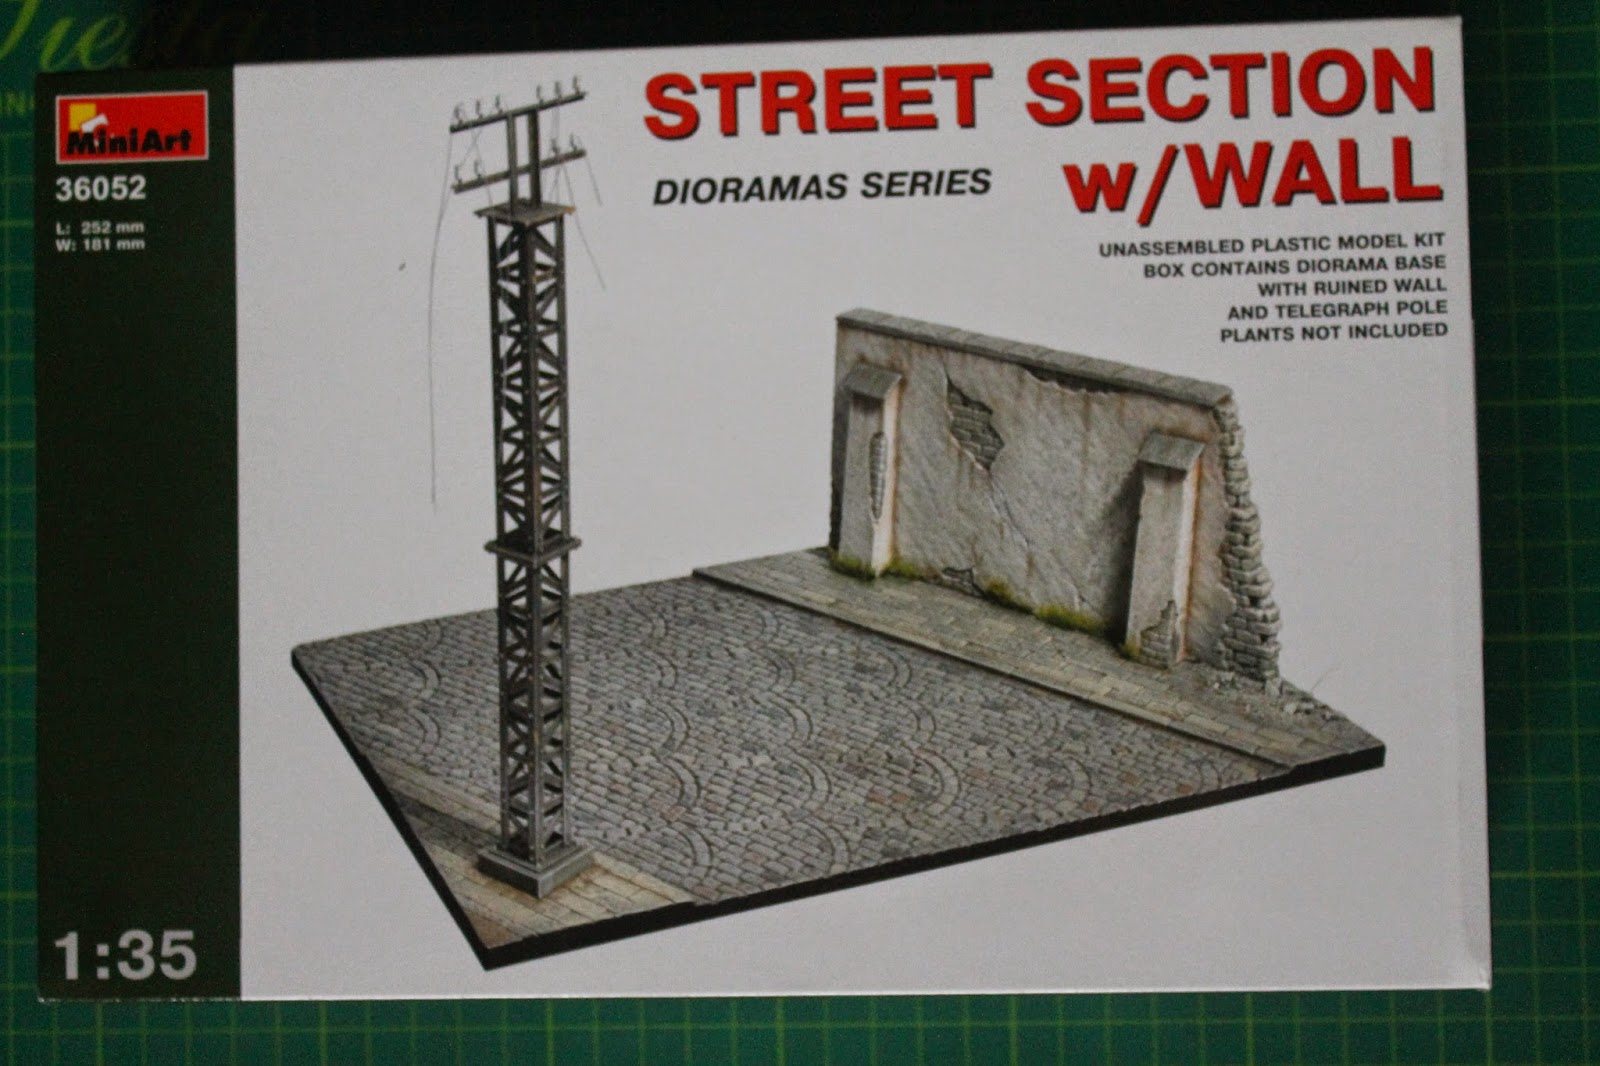
Here is the diorama scene i am using for this model and also the ammo trailer which is going to be used.
Ammo trailor

28/3/2015
 |
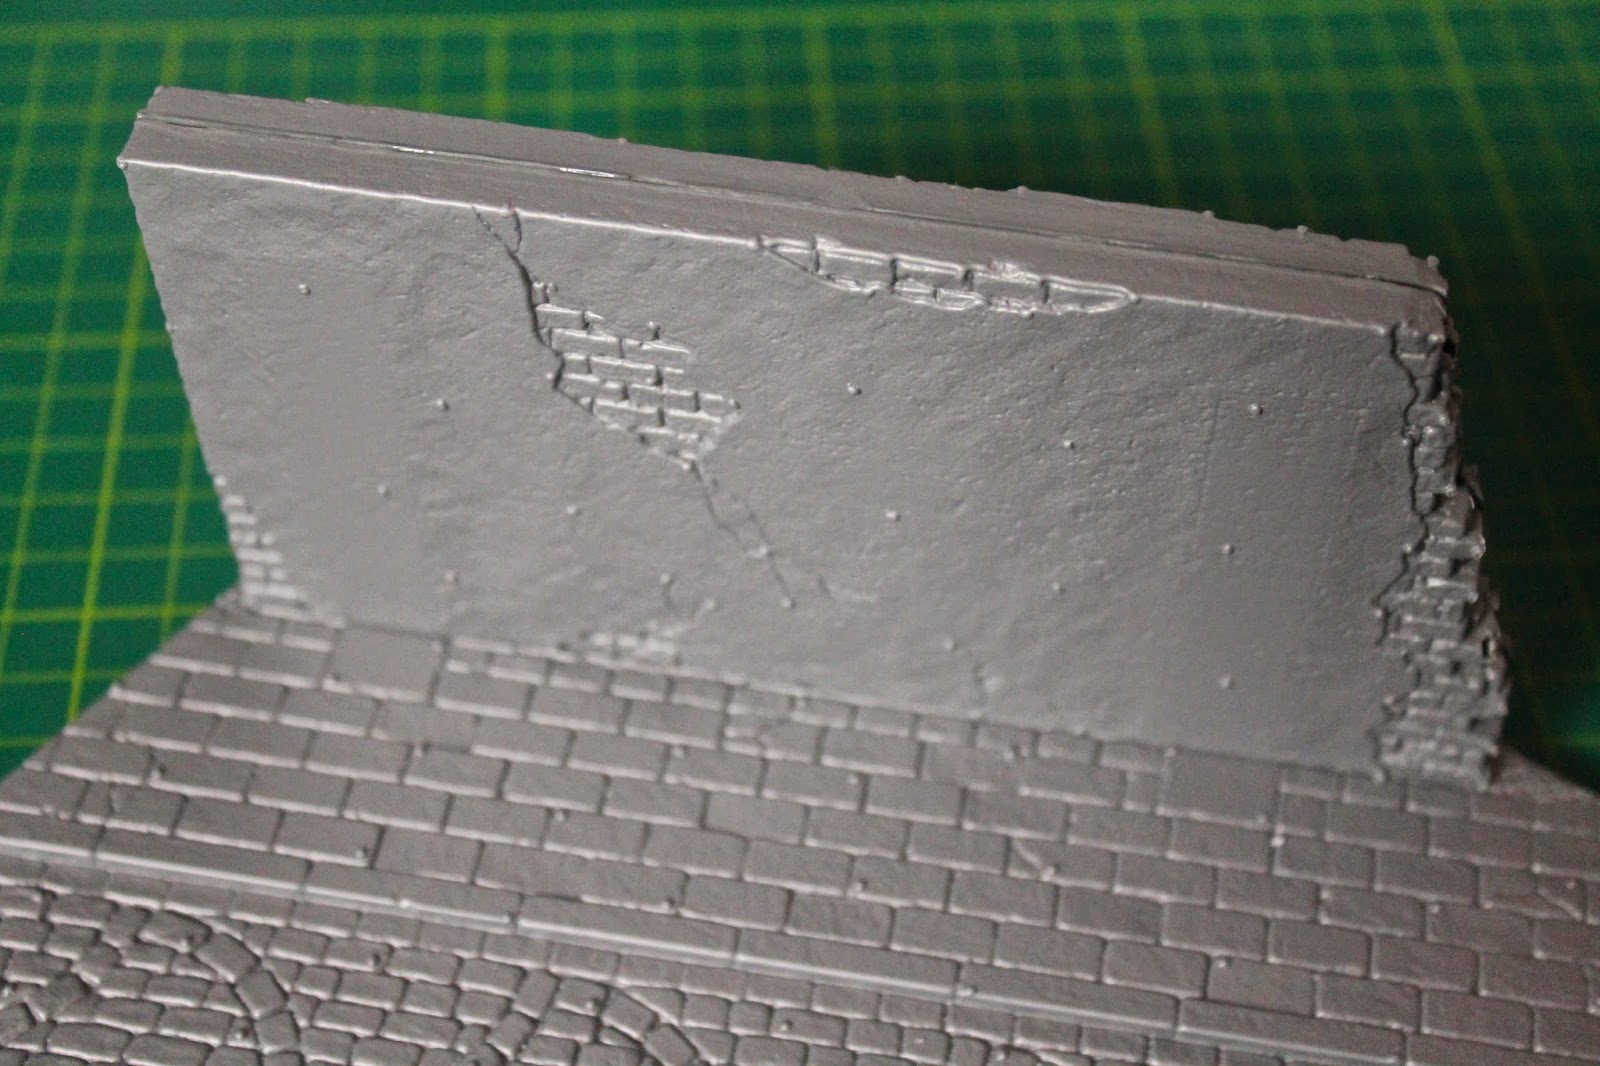
| I painted the bricks with tamiya dark grey. |
 |
| I then painted the plaster in tamiya light grey along with the coble stones. |
The next two pictures show MIG PRODUCTIONS (industrial city dirt) pigments applied to the road wheels an running gear, these are fixed on with there pigment fixer
4/4/2015
Due to a busy easter weekend i only managed to get a couple of hours in over a couple of days and here is the result.
 |
| Here i have used a method called dry brushing which i have only used a handful of times and i am pleased with the way it has turned out, for the very light parts i used tamiya flat white on a paint brush and wiped most of the paint of the brush onto a paper towel and then apply it to the ares of your desire. |
 |
| Here is a small collection of germanstowage which i am going to use on the model. |
 |
| Thease are the tracks in the kit which you have to make, this is just a start. |
 |
| Here is the stowage which has been added to he model with a couple of extra bits which i added to the trailer, which were lucky enough to arrive in the post that very morning from a company called fieldsofglorymodels.co.uk |
12/4/2015
 |
| This is the effect of the MIG PRODUCTIONS (NEUTRAL WASH) which was painted all over the coble stones and the paths, after i let it dry for about 10 minuets i wiped a paper towl over the area to remove the excess of the wash. |
 |
| Here is my atempt to replicate a couple of the value gear crates. |
 |
| My two creates are in the middle which i am surprised at how they have turned out considering that they are my first atempt. |
19/4/2015
Final assembly stages
It is now on to the home strate with the tracks all assembled and painted, the figures and various greenary, telagraph pole
 |
| These two pics show the fully functioning track before painting. |
 |
| These are the german artilary figures from tamiya, at this stage i am looking at different ideas to place them around the diorama. |
 |
| This is as far i got with the painting for the moment, the bits sticking out of 3 of the men is excess sprue to hold while painting. |
 |
| The next step is to touch in all the little bits on the uniform's. |
 |
| While painting the german figures i decided to add to american soldiers to the scene, the left one is holding a m1 bazooka, the right one is loading the ammo for the bazooka. These two will be situated behind the wall ready to ambush the flak gun. |
26/4/2015
COMMENTS ARE WELCOME